Making a Pond Filter
 When we decided to start putting ponds around the garden to fill empty spaces, it meant putting filters in to keep the water clean enough for the fish. That’s when I found out how expensive pond filters are.
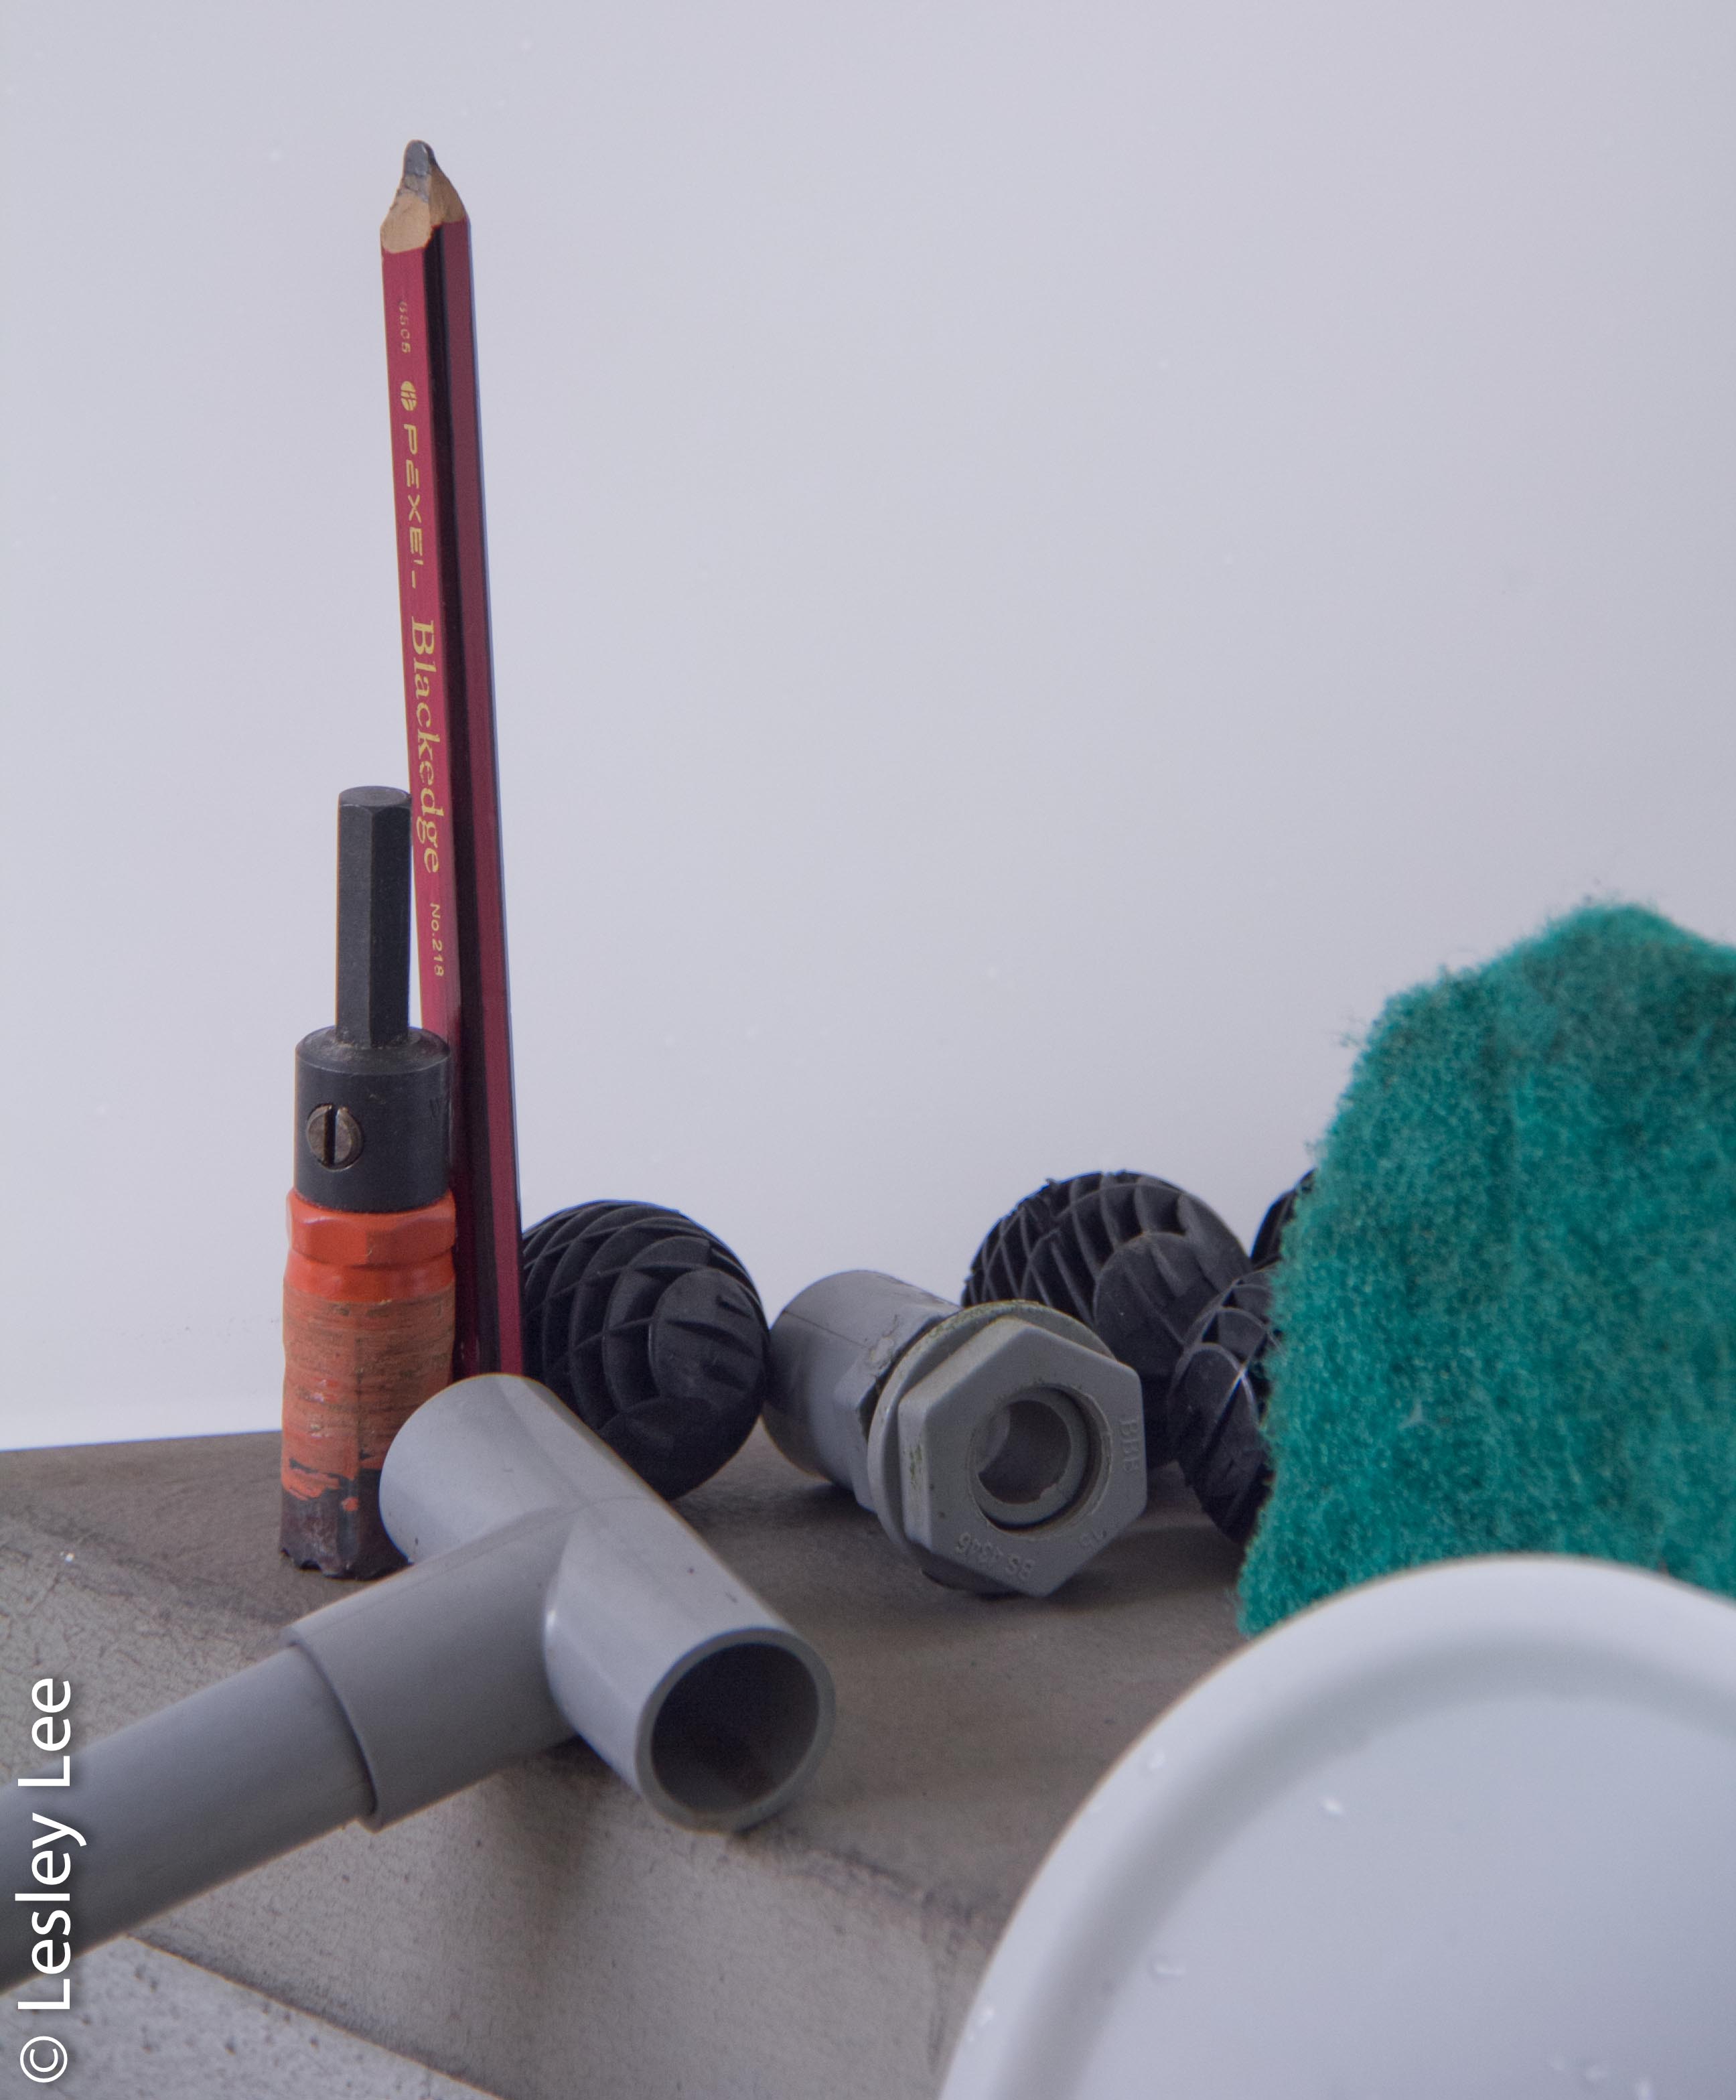
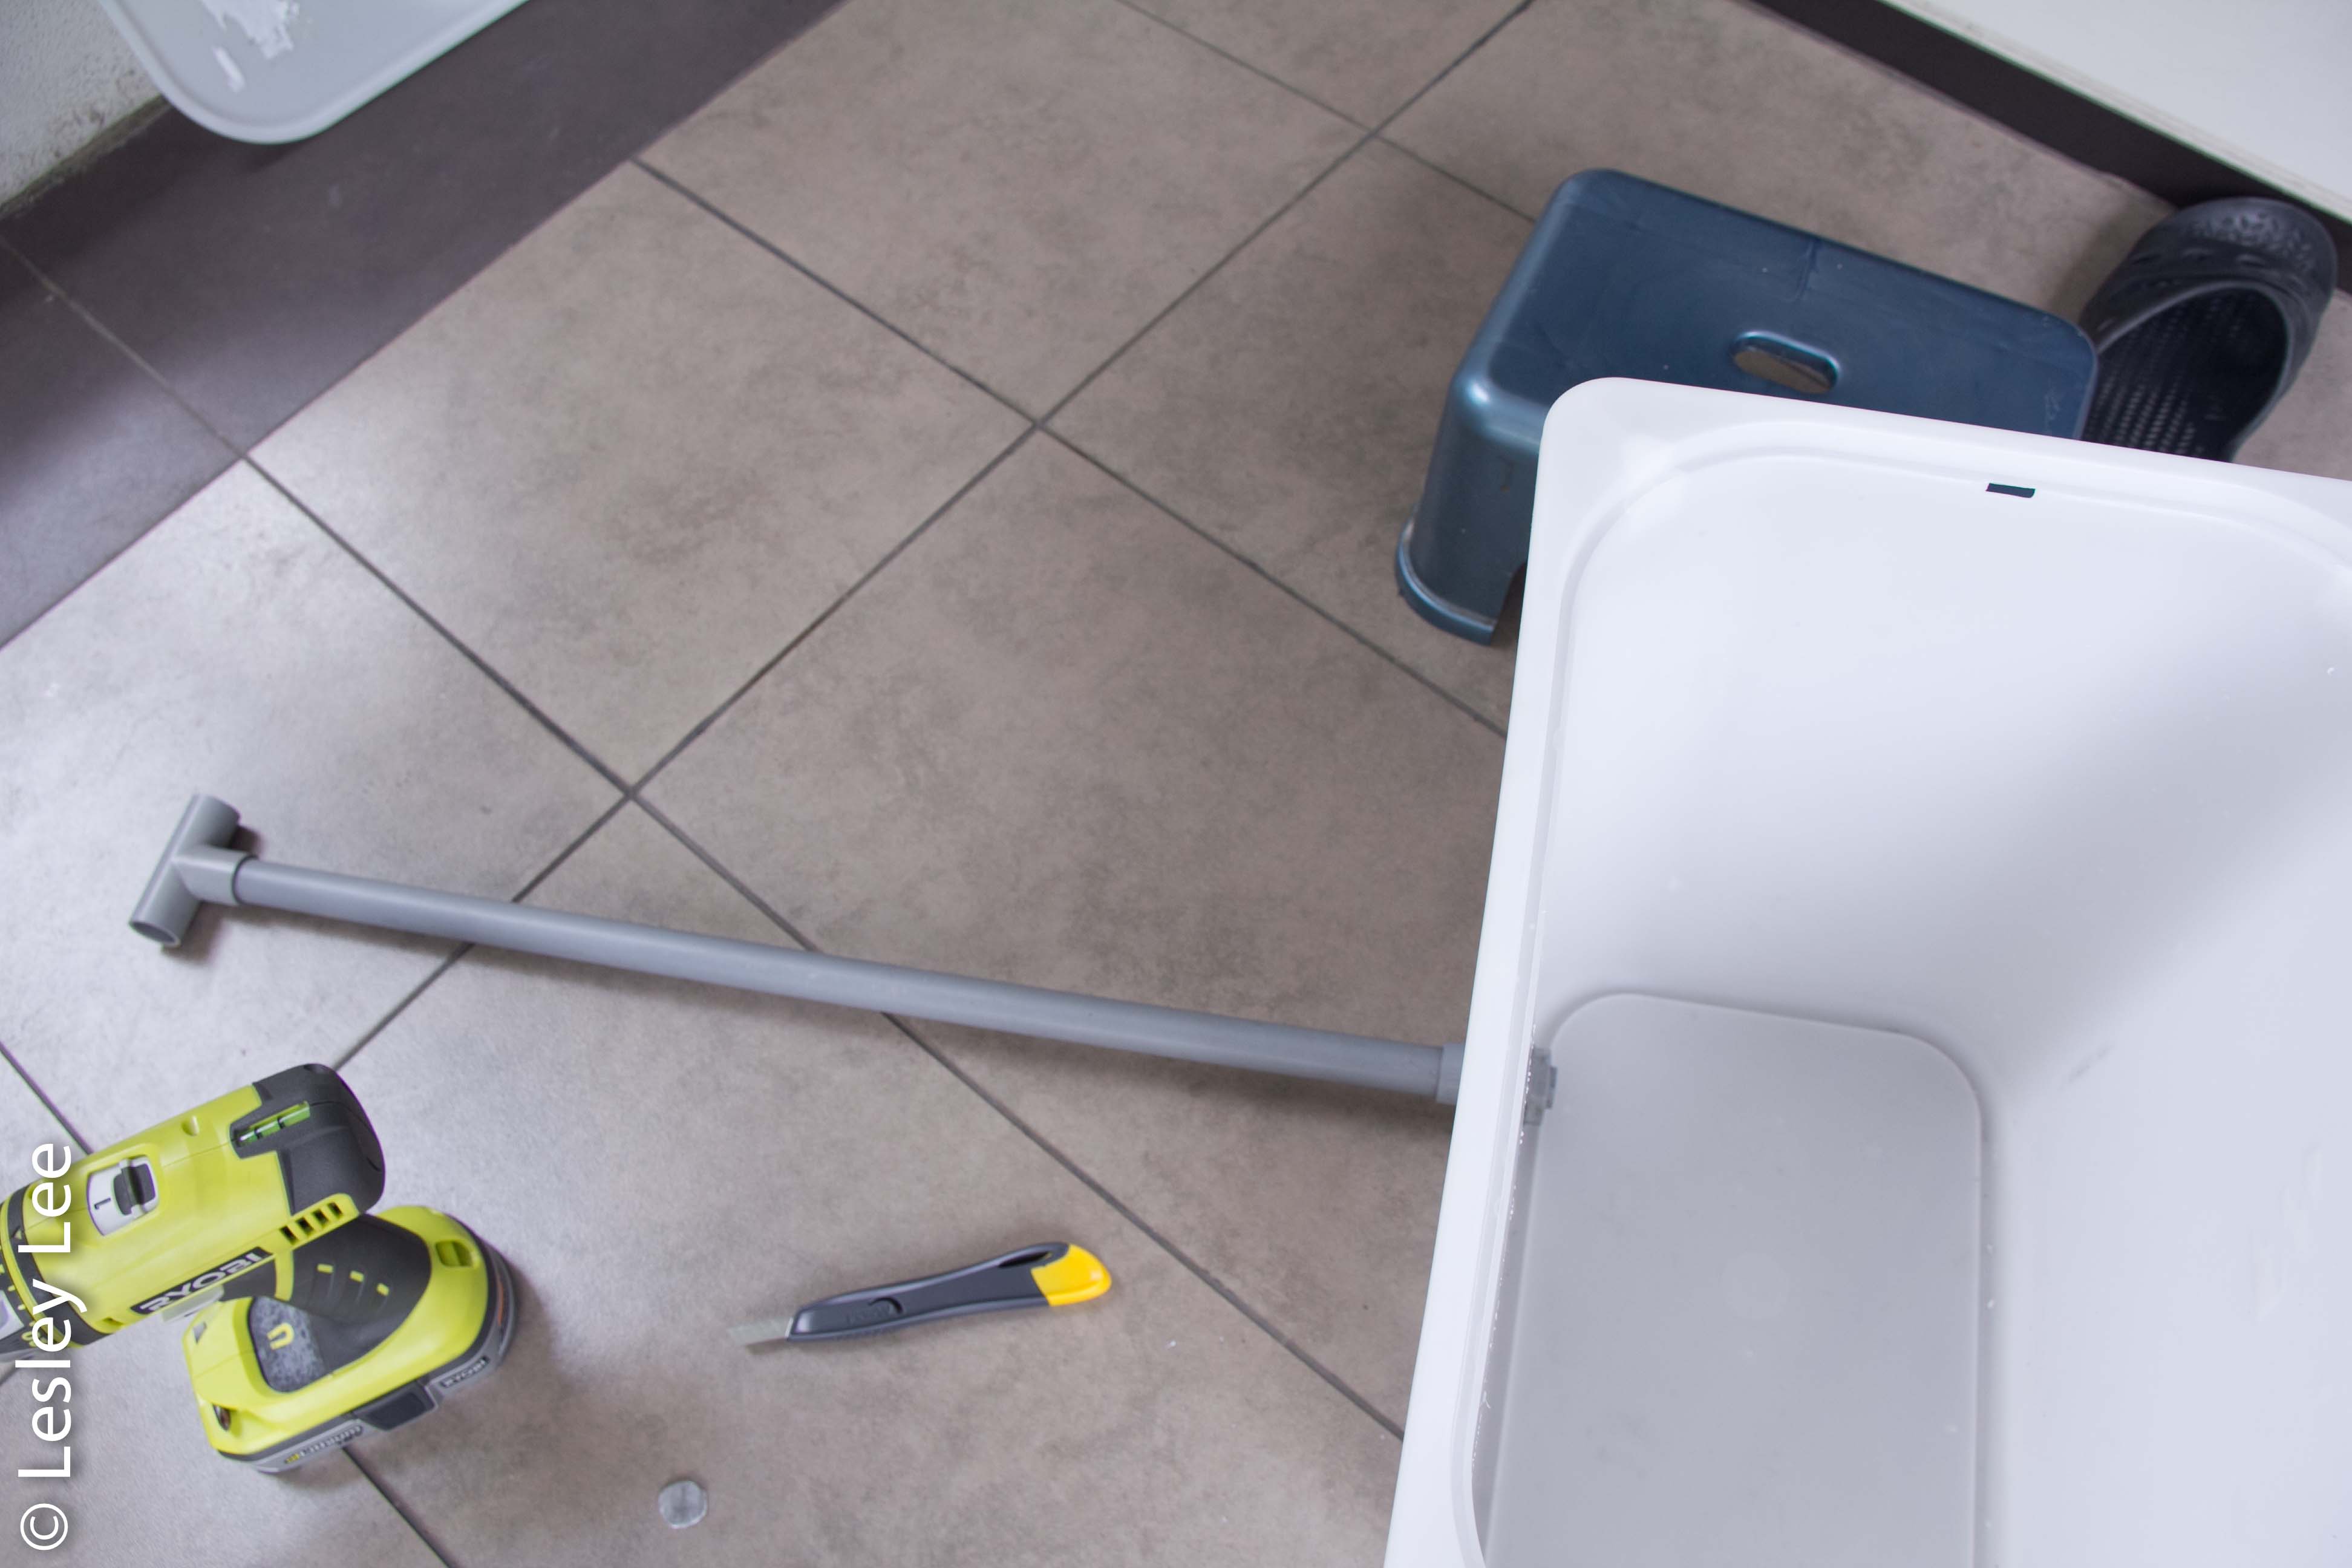
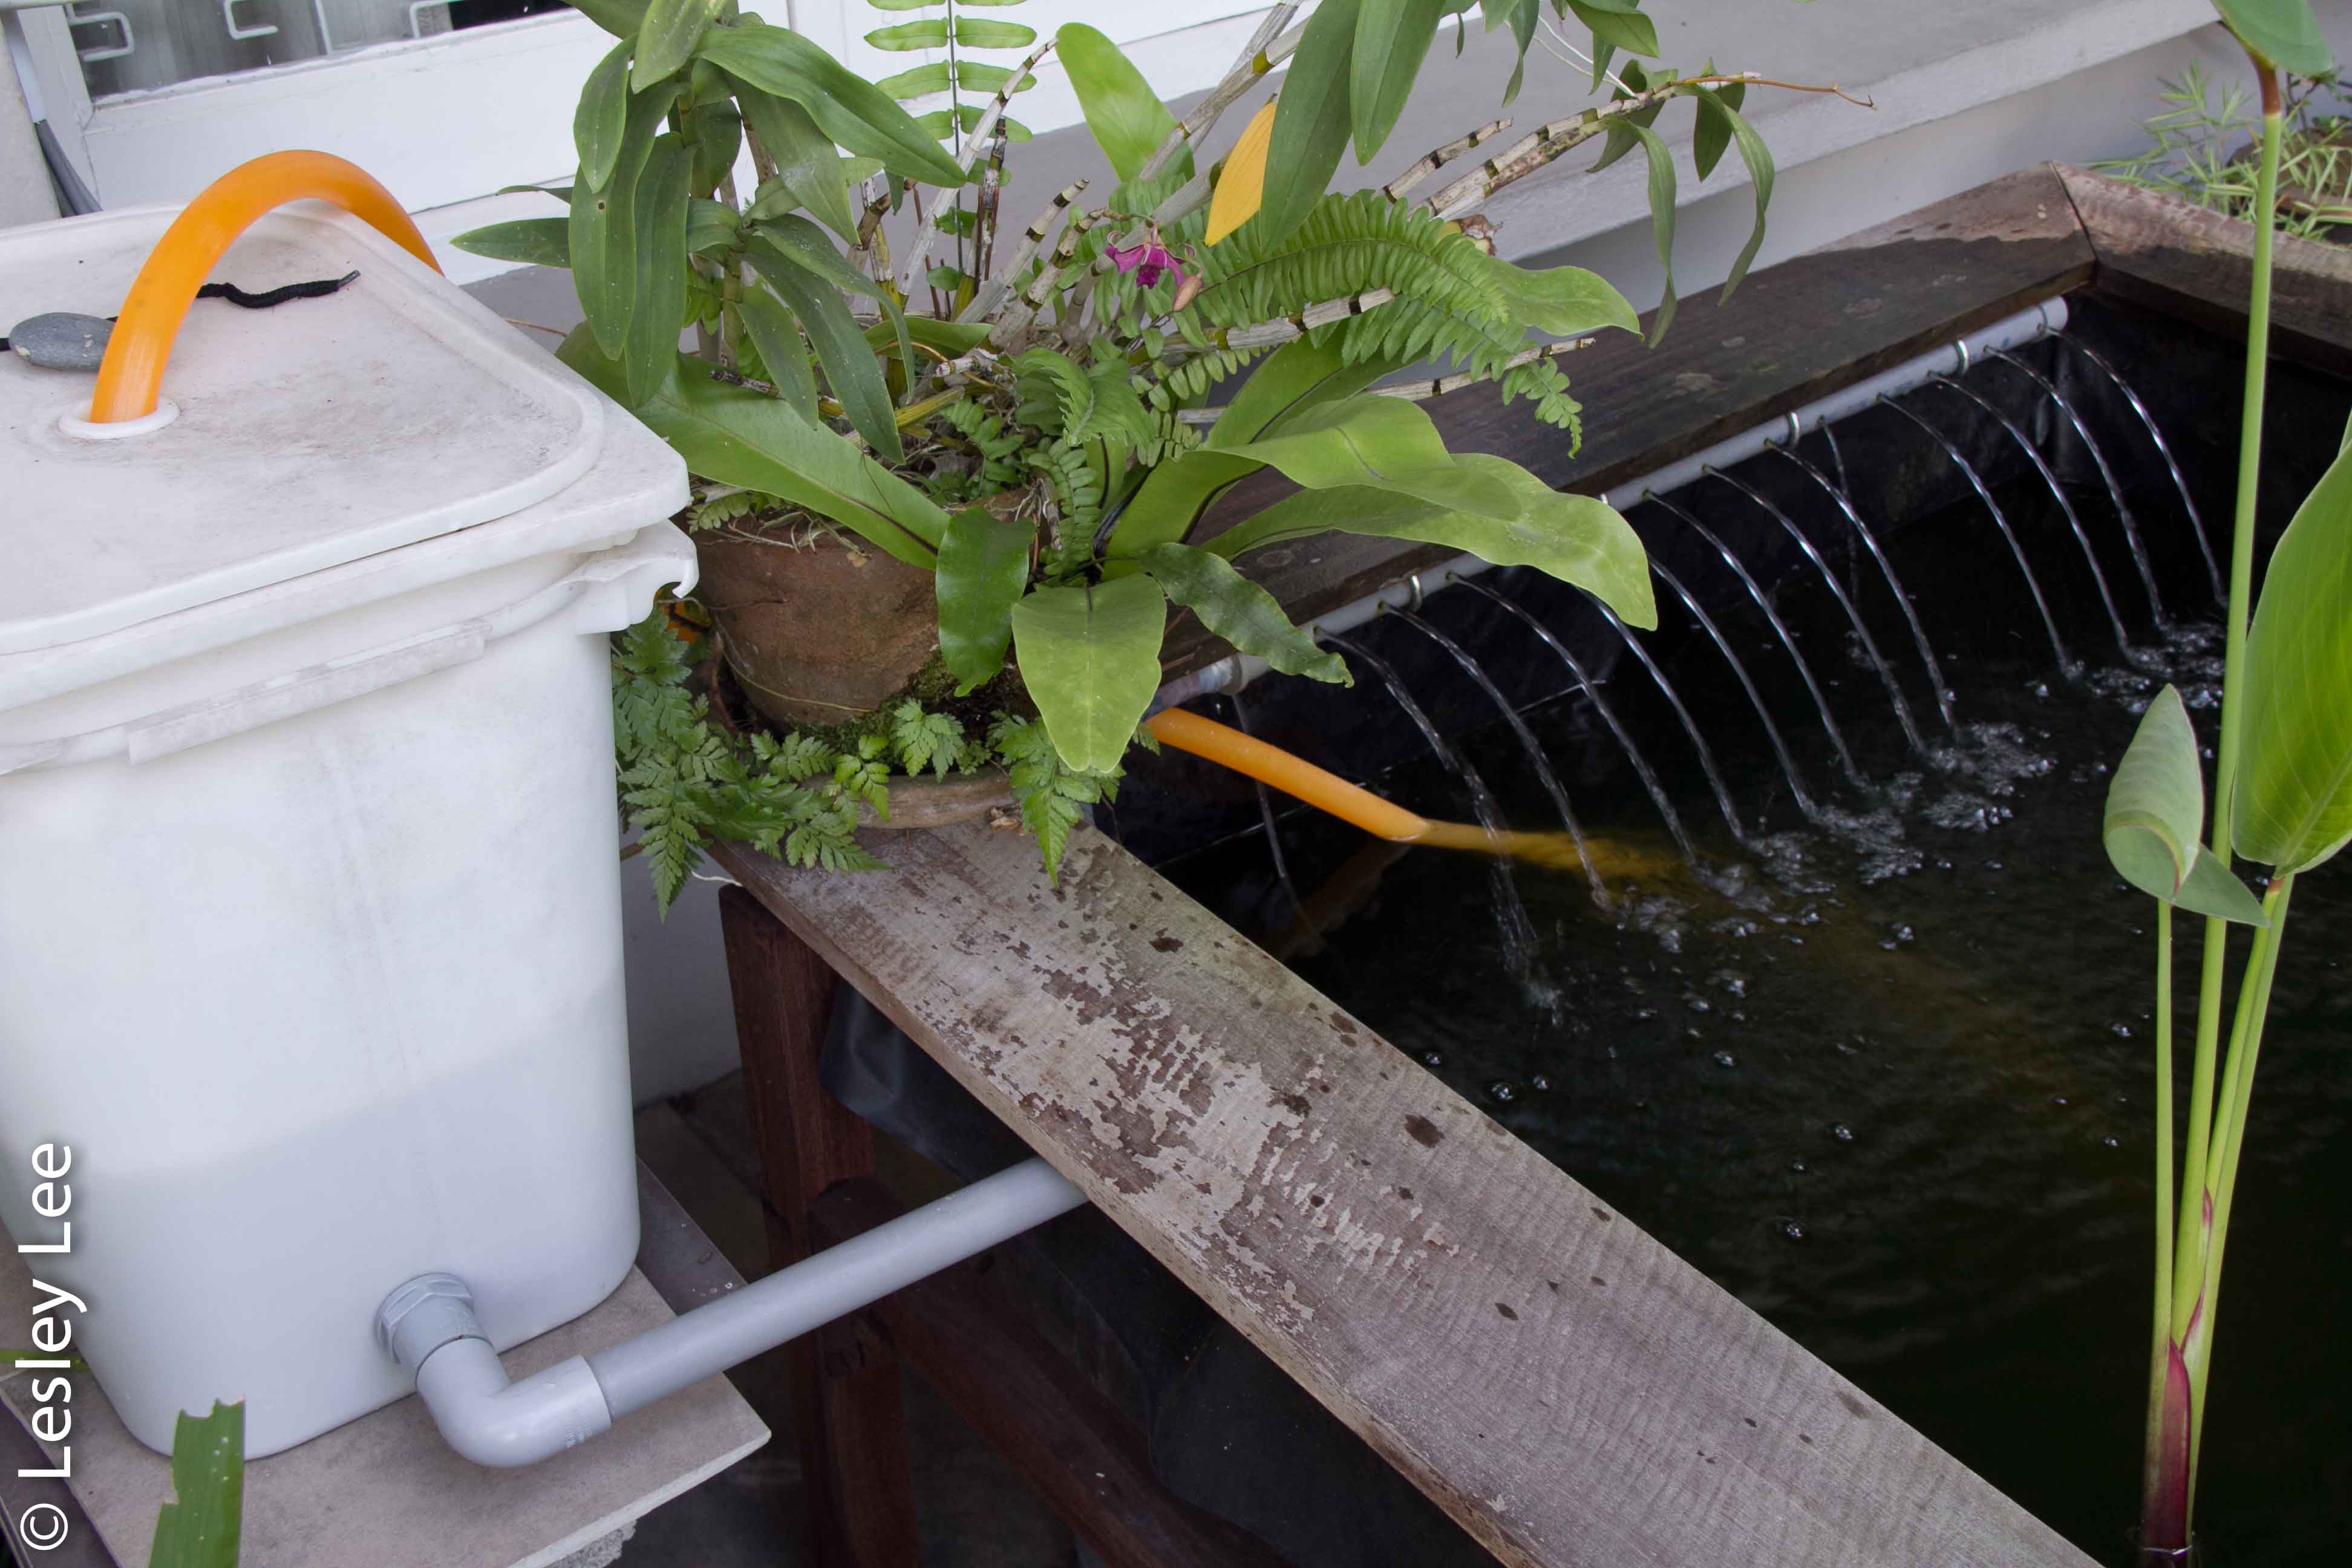
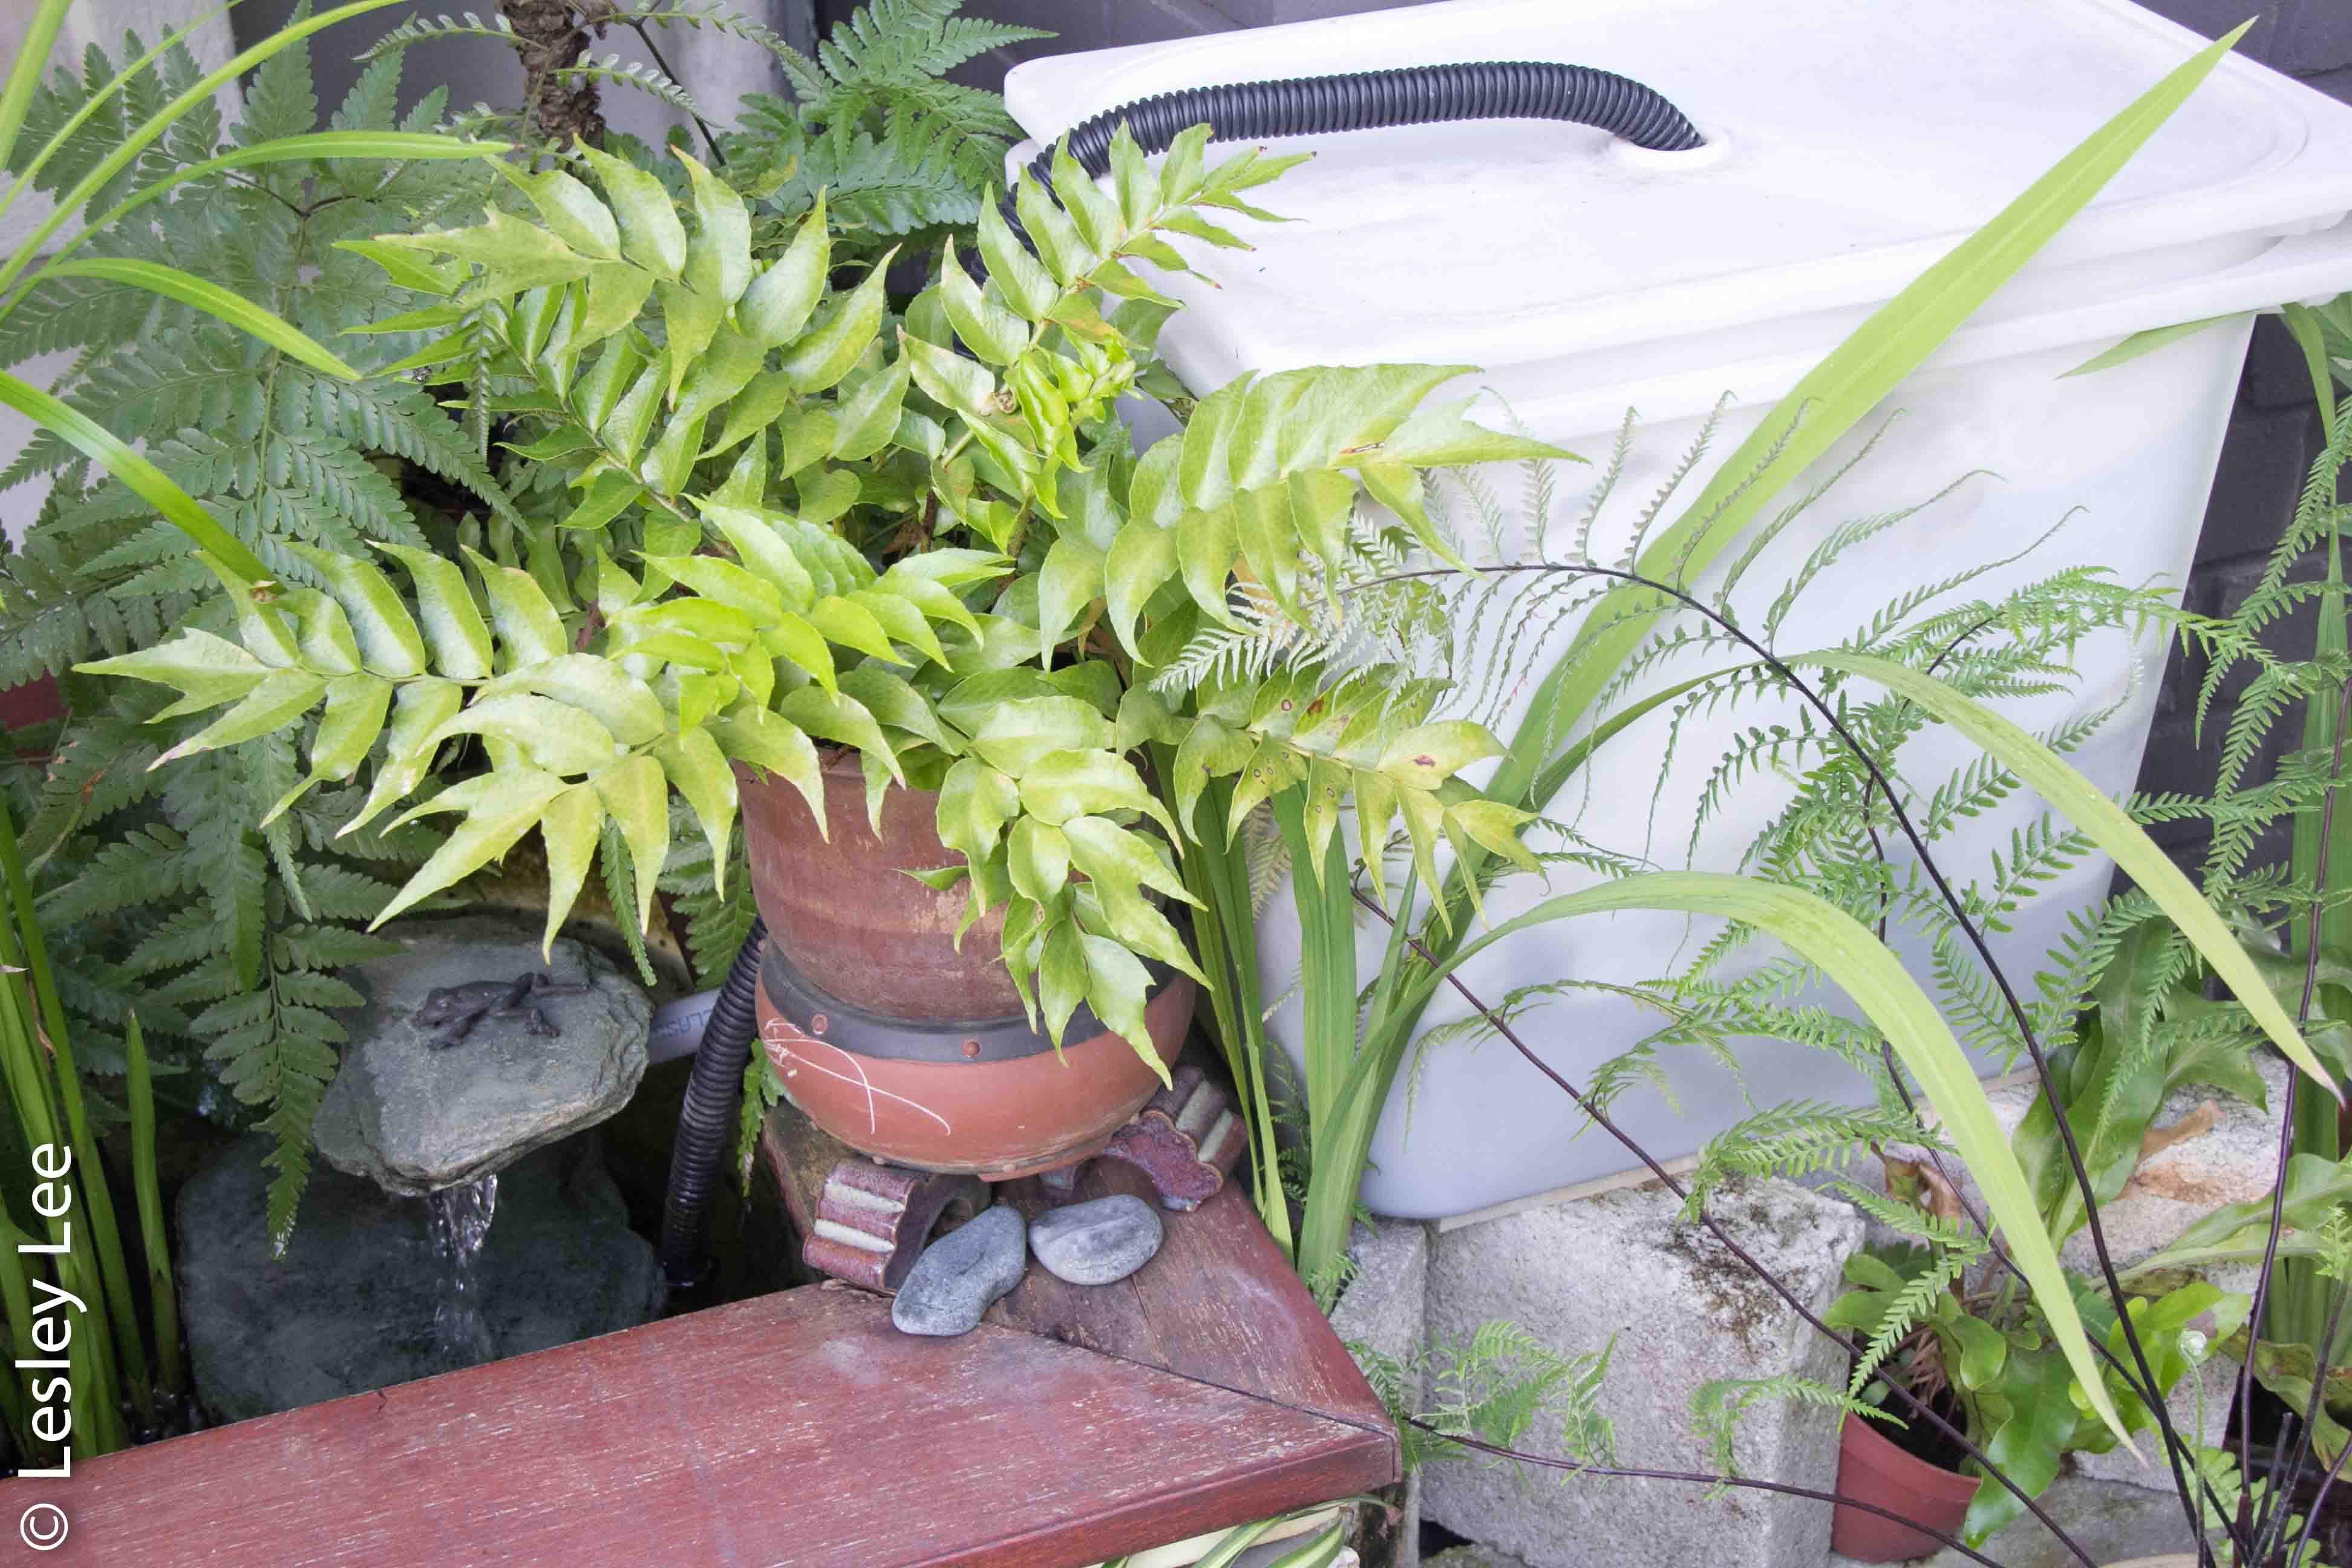
  So I had a good look at the ones in the market and decided that I could do it myself, using easily obtainable materials and much less expensively. Apart from one for the big pond, for which we asked the fish shop man to help us get a big container made, the other things were easy to source. Ikea’s Trofast storage boxes come in different sizes, which all fit inside each other and they come with lids. You need one large and one medium sized tub and two lids. You need a plumbing fitting to go in the outlet hole of the big tub, and a length of PVC pipe to fit on the outside. You can get these from the hardware shop. If you want to use your filter in a larger pond with a bigger pump – i.e. you want to move more water, faster, you just increase the size of the fittings and pipe. If you want to be fancy, you can even drill holes along the long tube and make a little waterfall into your pond. You can also add an extra layer if you want, because there is a smaller trofast tub that can go in the top.
To do the construction:
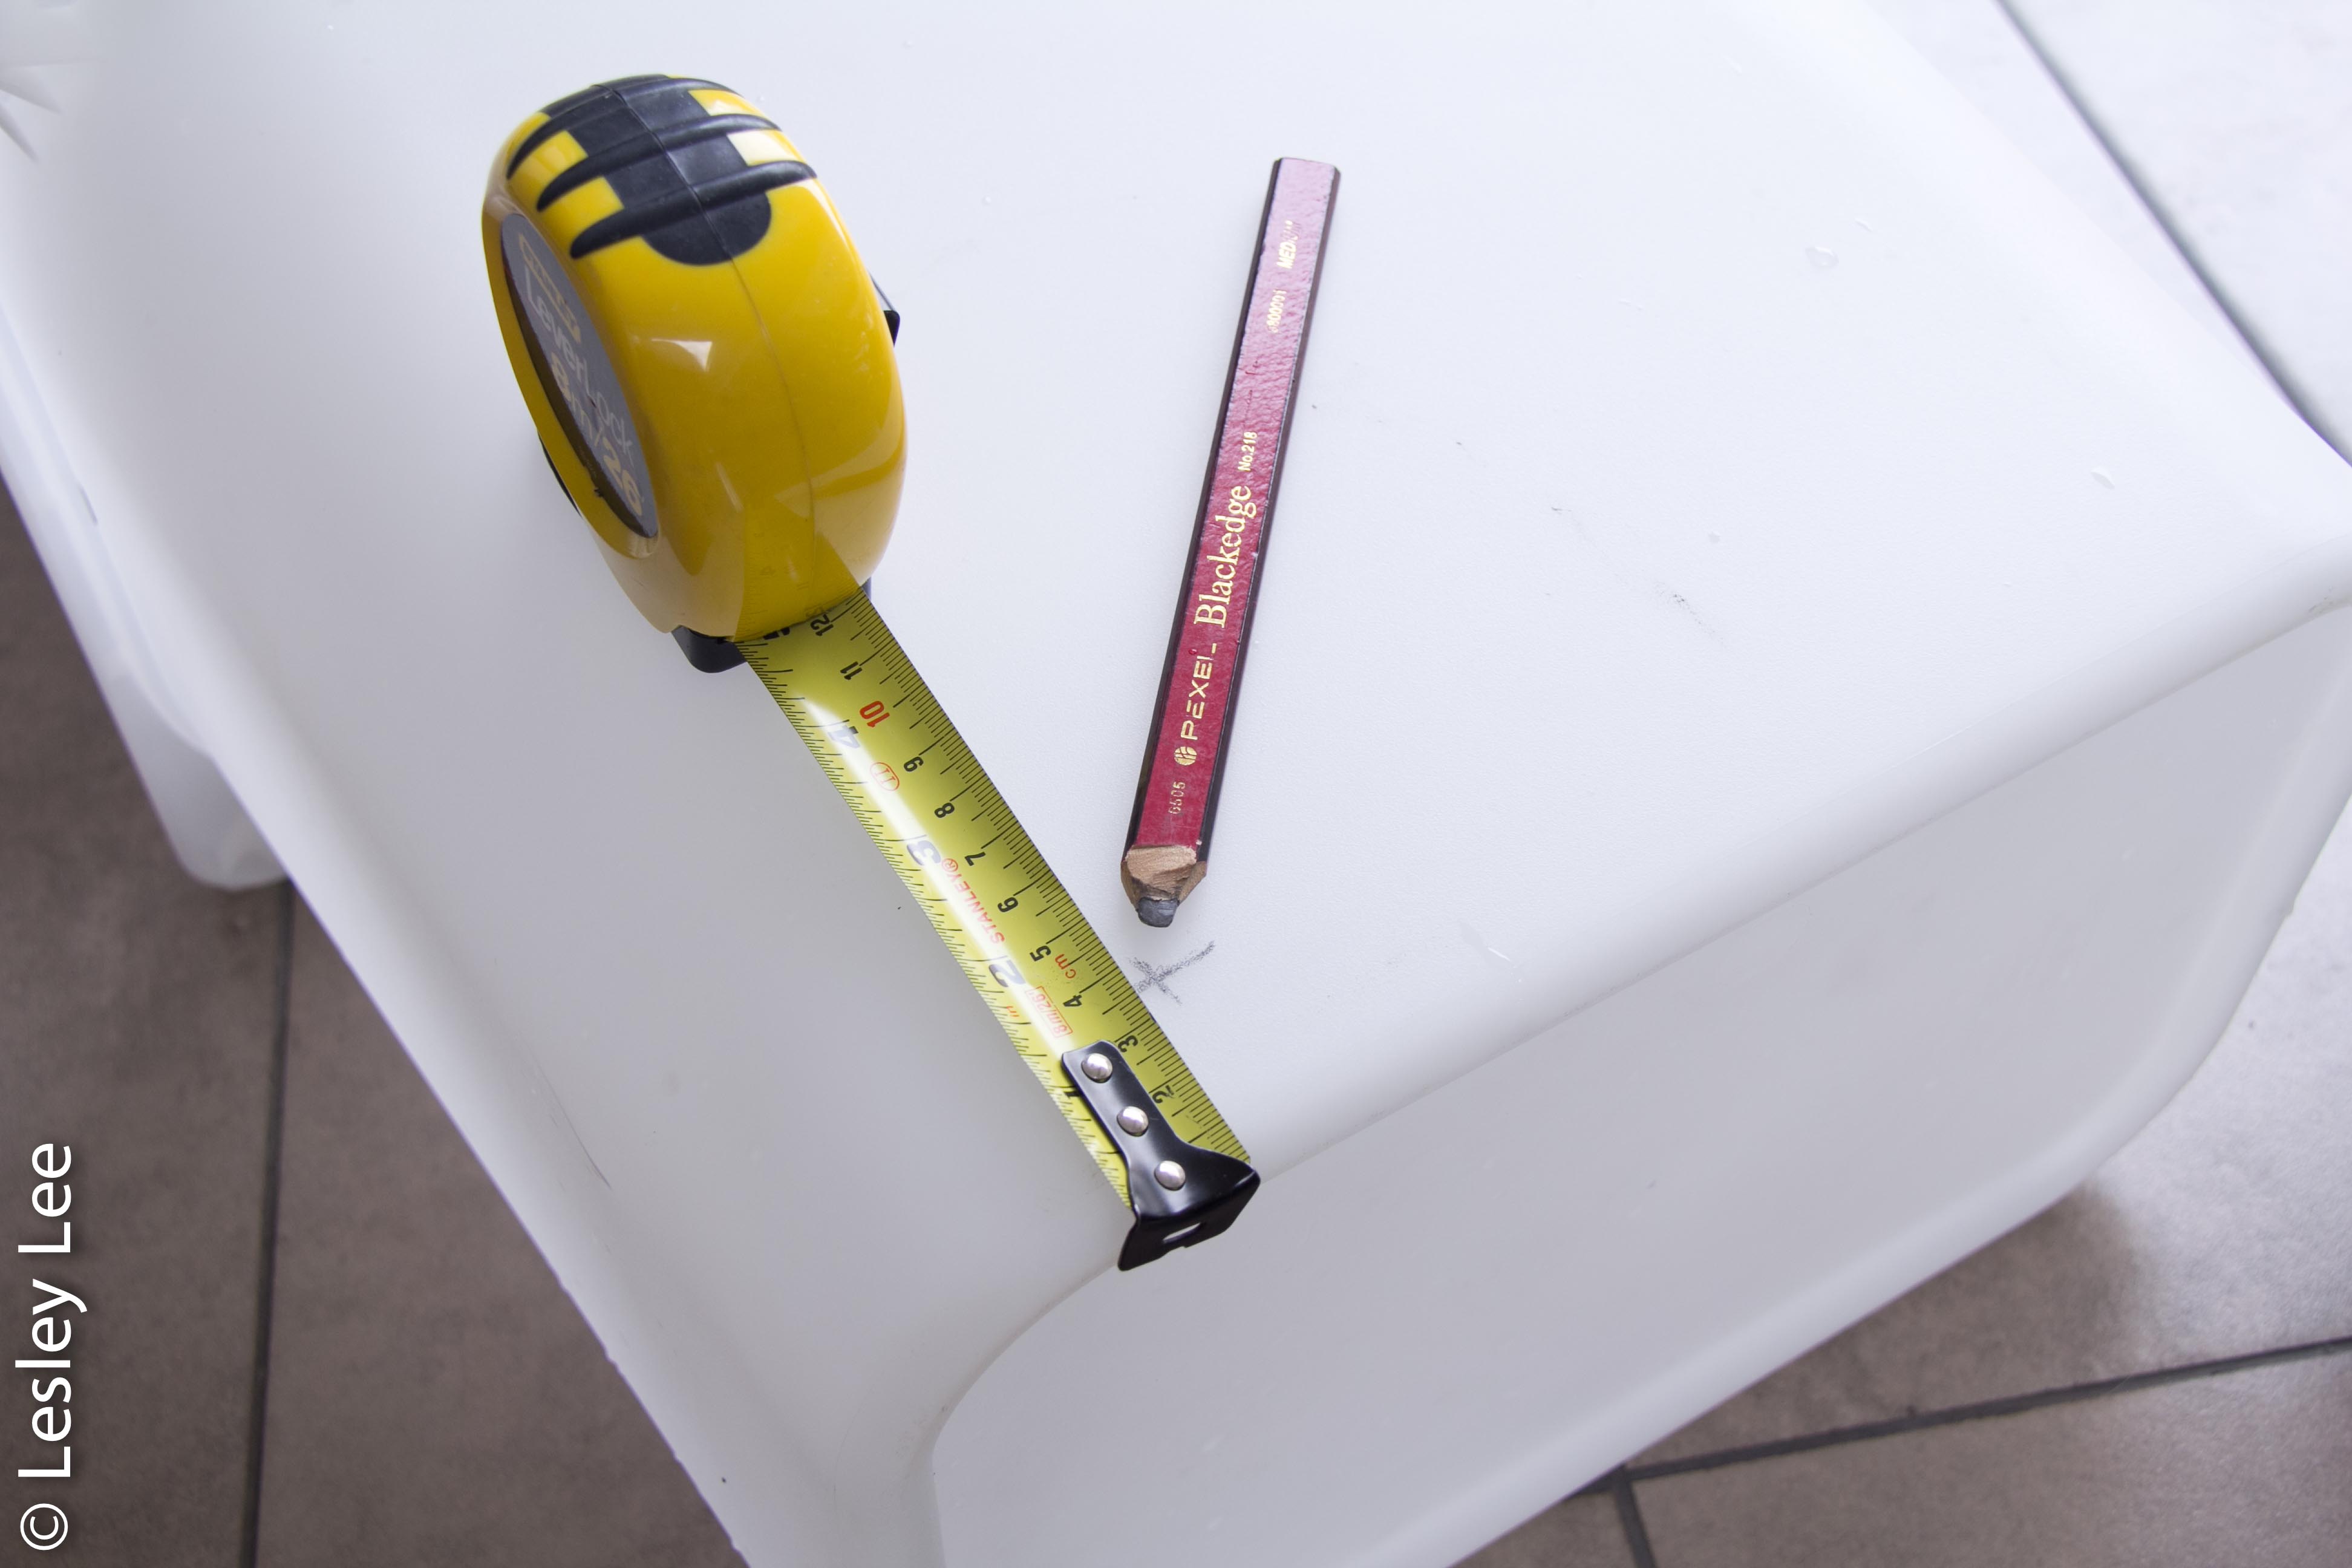
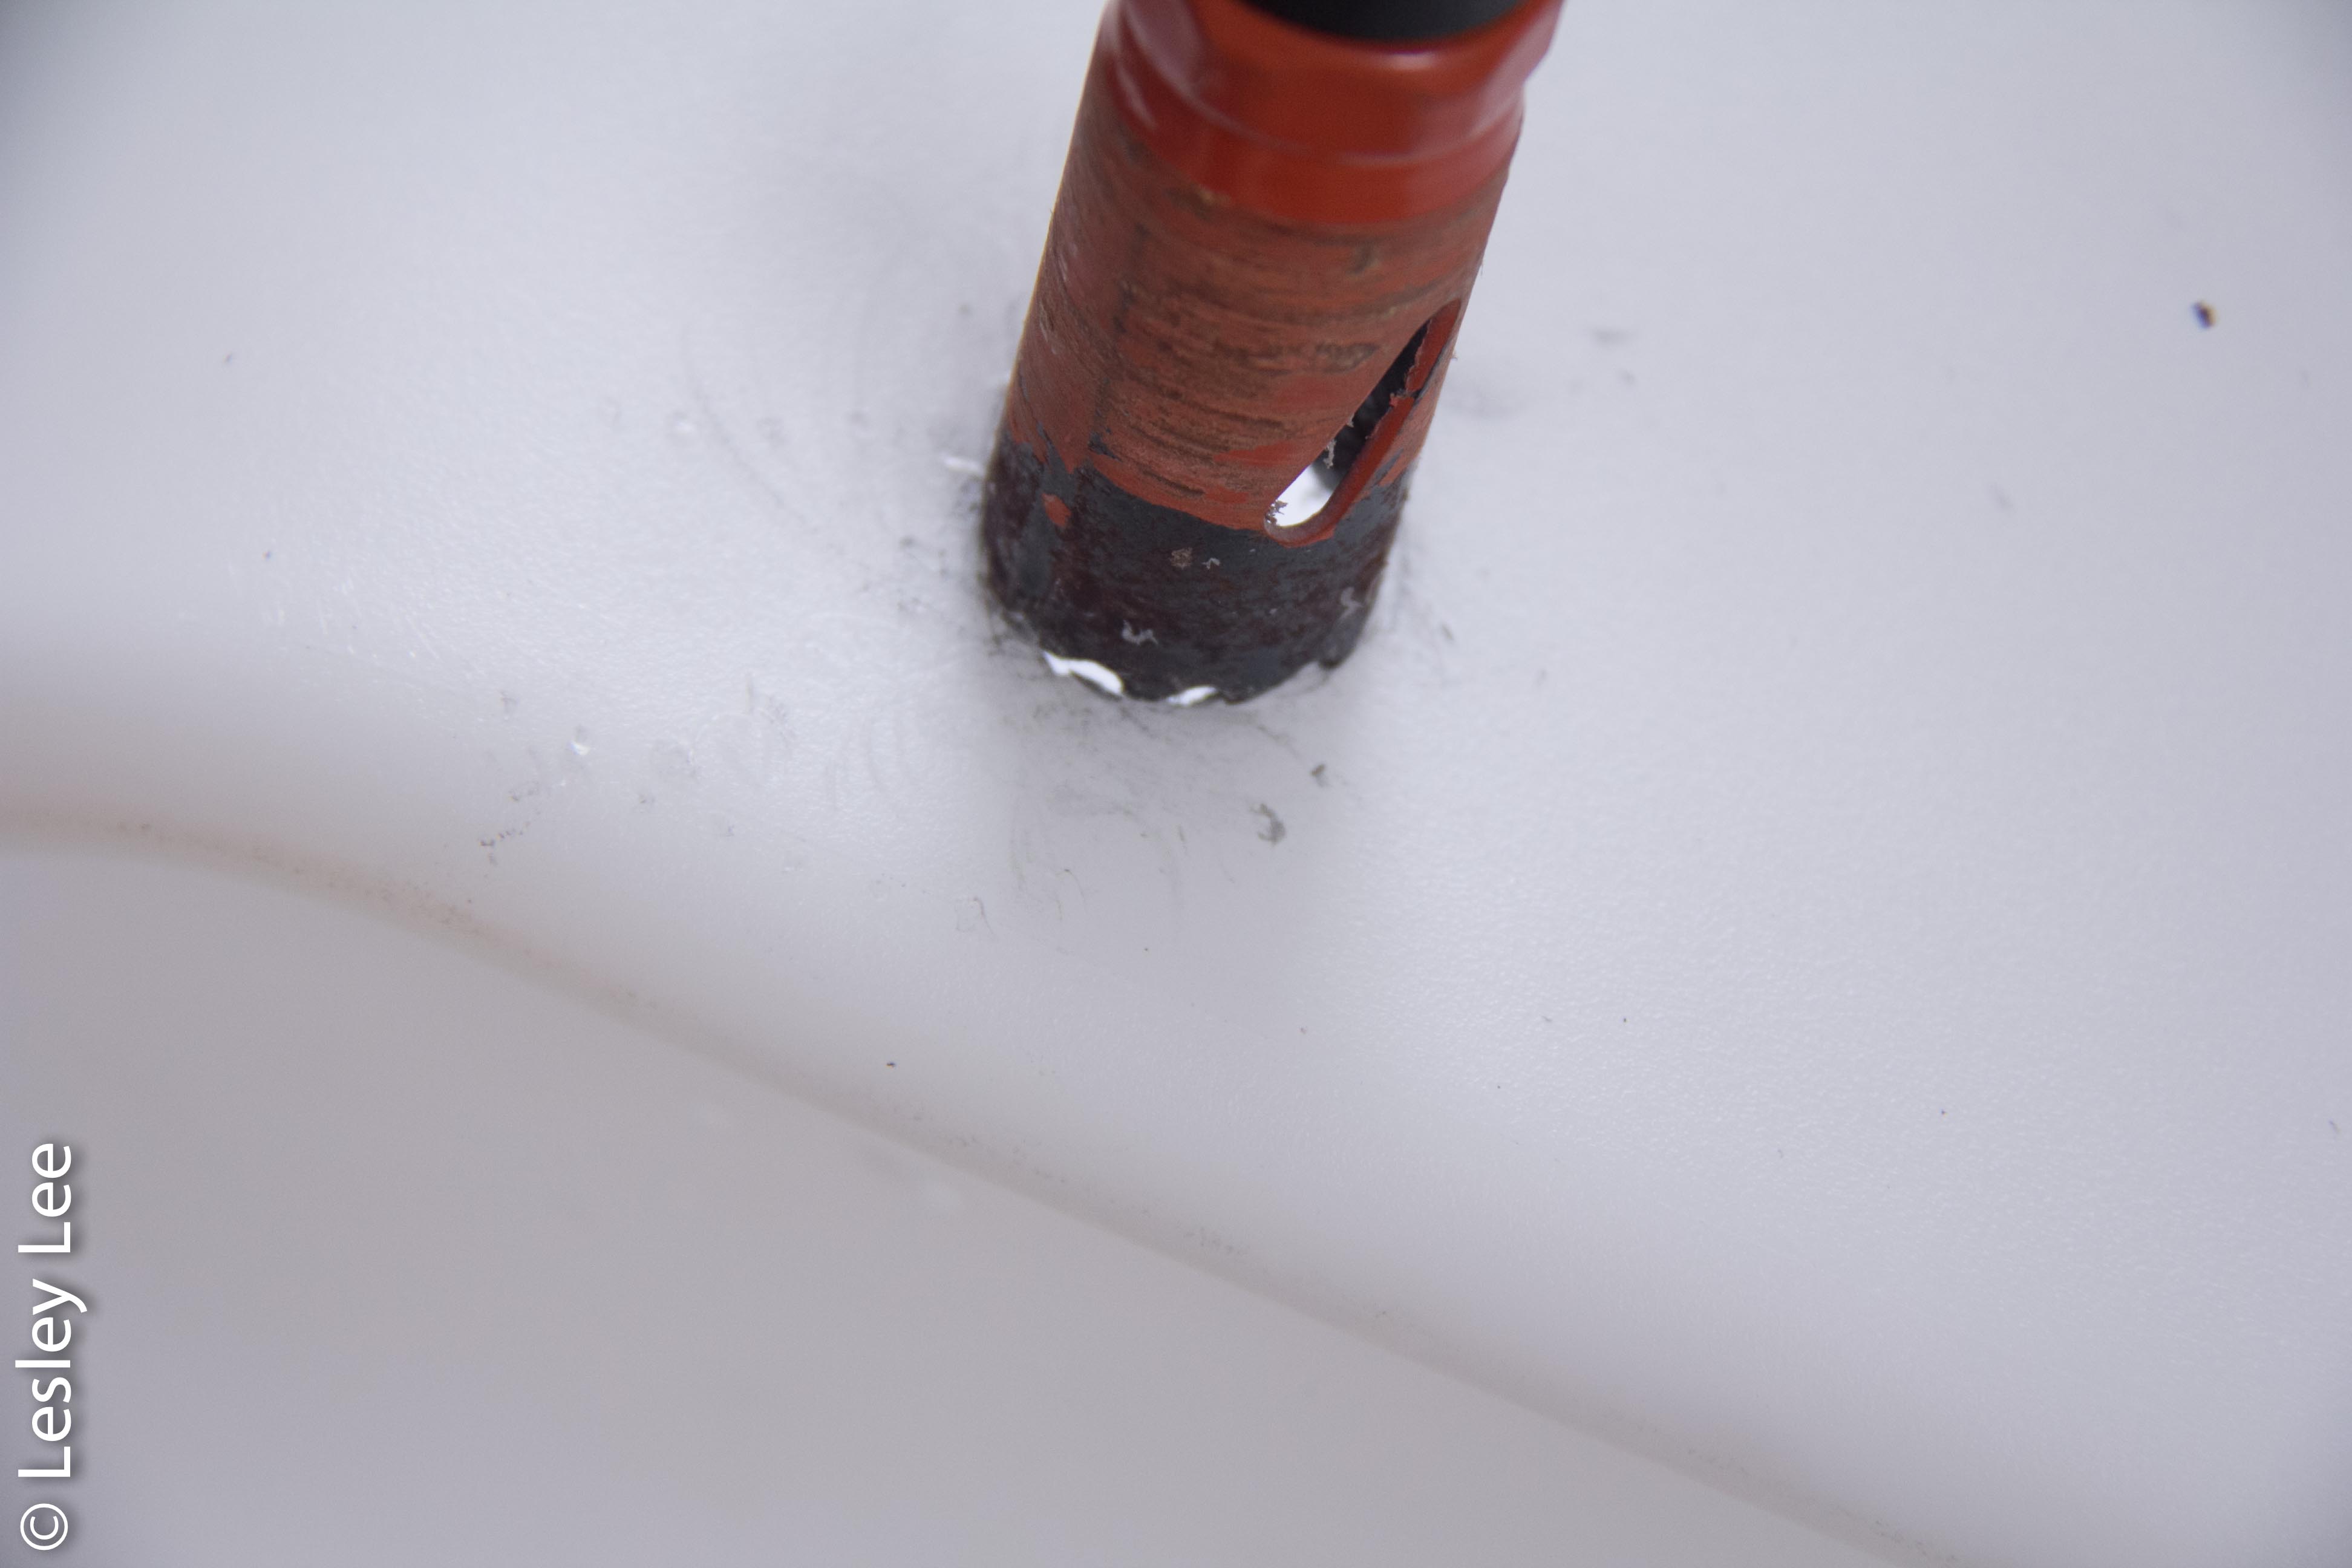
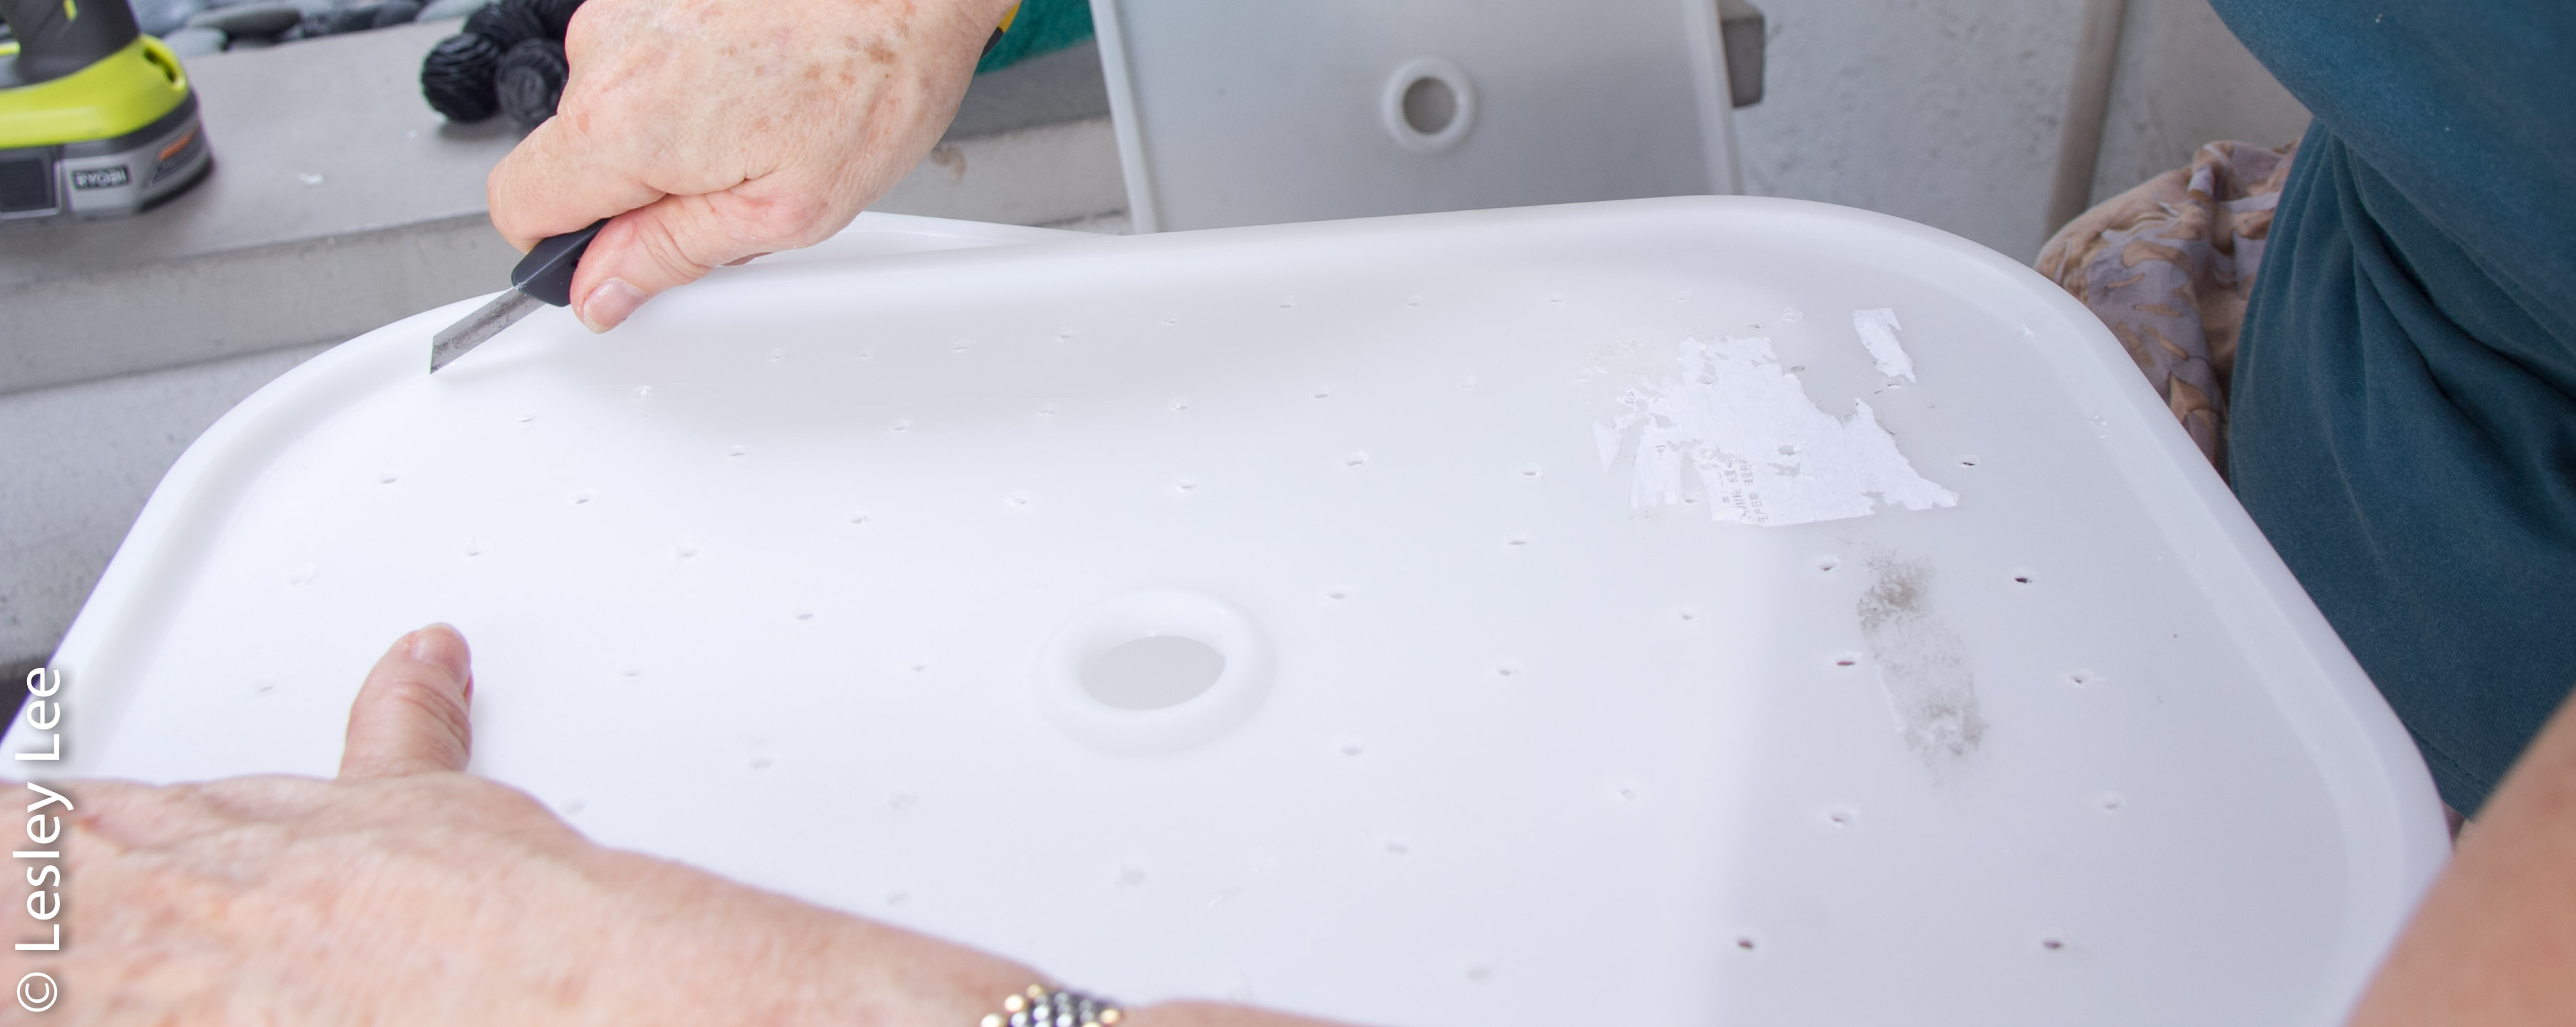
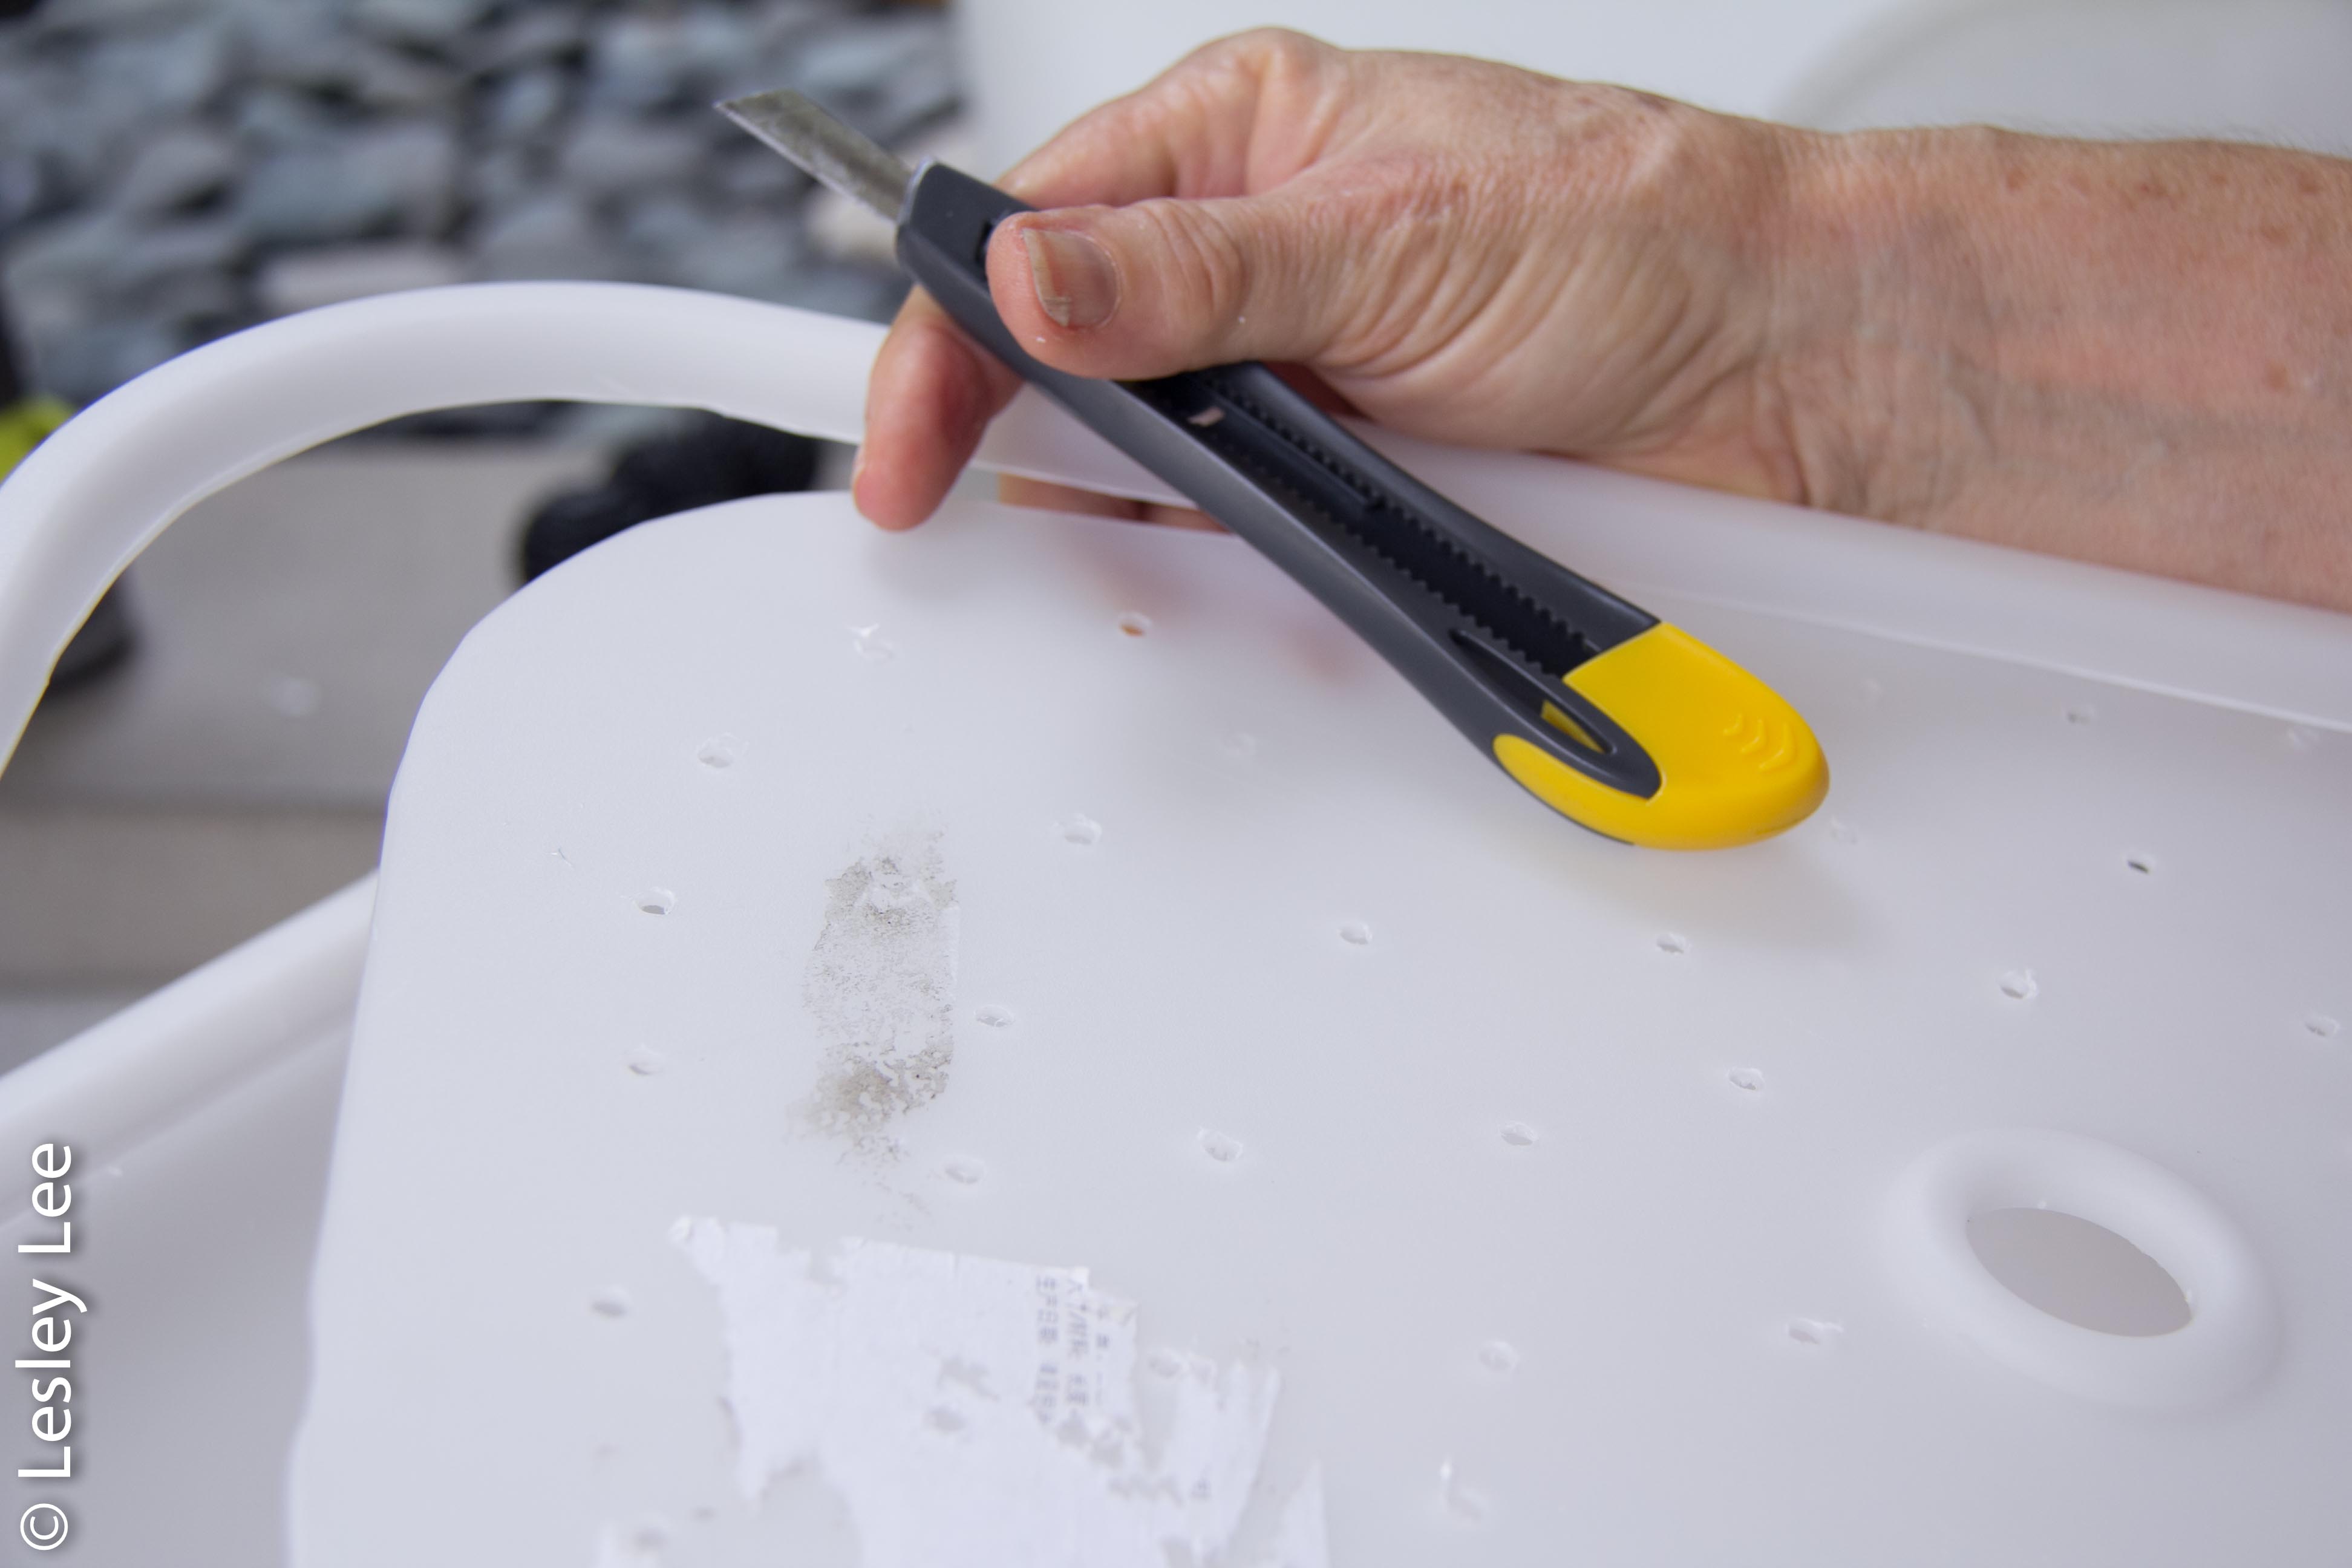
1. Establish where the filter will be sited. It must be level and it’s a good idea to make sure it has some shade, the plastic isn’t great in the sun and will weaken over time and crack. In the shade it will last for years. Mark the position of the ‘out’ hole on the large tub towards the bottom with a cross and use a circle saw to cut a hole that your plumbing connector will just fit through. Make sure you have rubber washers on each side so it won’t leak. This is not easy with a hand drill because it can slip easily. If you have access to a bench drill, that is much easier. You can also cut the hole with a blade (Stanley knife / box cutter) and then neaten it with the circle saw if need be.
2. Drill small holes all over the bottom of the smaller tub, especially around the little depression around the bottom and all over one of the lids. I used a 4mm bit, but you can use a different size if you wan to control the rate of flow differently.
3. Place the smaller tub inside the larger one and put the filter material inside. You can also put bio balls, limestone chips or other suitable filter materials.
4. Cut the edge of the lid with the holes and place it over the filter materials. This will spread the water out so all the filter material is being used.
5. Cover the filter with the second lid and place the filter on the prepared base. Put the inlet hose through the hole in the lid and turn on the pump. If you want to use the hose to fill the filter a bit first, you can admire your results faster.
6. This takes about half an hour if you have all the materials ready and the base already levelled.
Click on the pix below to see all the steps. You can return to the blog by clicking on the x at the top left hand corner. Feedback (and questions) are more than welcome.
Modifications:
 1. For the big pond we needed a bigger filter both because of the volume of water and to cope with the fish. You need to choose the fish wisely. We thought that changing from tilapia would be good because they were fast swimmers and had lots of babies. We put in 5 Chinese Carp when they were about 15cm long, expecting to have them grow to about 25-30cm. They are very pretty fish with graceful flowing fins and tails and not violent swimmers. That part of the information from the fish shop man was true. However, he assured us that they wouldn’t have babies. Wrong. They had lots of babies and we ended up with 50. At that point we decided to take the lot out and relocate them where they didn’t have so much cover to breed and we’ve now got only 5 left. They are happily swimming about in a big tank with no filter or aeration, but lots of plants to protect them from the sun and the birds. Back to the filter. We had a large fibreglass tank made with 5 compartments. The inlet is at the top at one end and the outlet low down at the other end, on the side. The dividers are arranged so the water goes under the first, over the second and so on. There’s filter wool in the first four and the exit compartment has some limestone chips to clarify the water. The water flows out and over rocks placed to form a little waterfall.
  The space has to be prepared well first and lined with pond liner to make sure there is no leakage into the surrounding soil or you’ll end up with an empty pond very quickly. This filter is probably in need of a clean now, though the water is still very clear inside.
2. For the smaller filters made from Ikea Trofast, you can adjust various elements – the size of the holes in the inner tub (I’m using 4mm as a good guide) and the position of the outlet. If you place it higher, you have a deeper settlement area in the base of the big tub – I even find guppies that have survived the trip and grown in there! By adjusting the angle of the outlet pipe you can build up a higher level of water and control the flow, but you have to monitor this until you get it just right.
 3. Select the right sized pump. Make sure the pump will lift the water to the height of the inlet and move the volume of water you need to ensure you can keep a good balance. If the pump is strong enough, you can also enlarge the diameter and lengthen the outlet pipe. Cap the end and make holes along the length so you get a waterfall effect. Play around with the adjustment until you get it right. Start with fewer holes than you want and add as you see it can maintain the volume.
4. If you can get a black tub for the large one, that seems to be the longest lasting, though probably still better to be in the shade.
Cleaning the filter
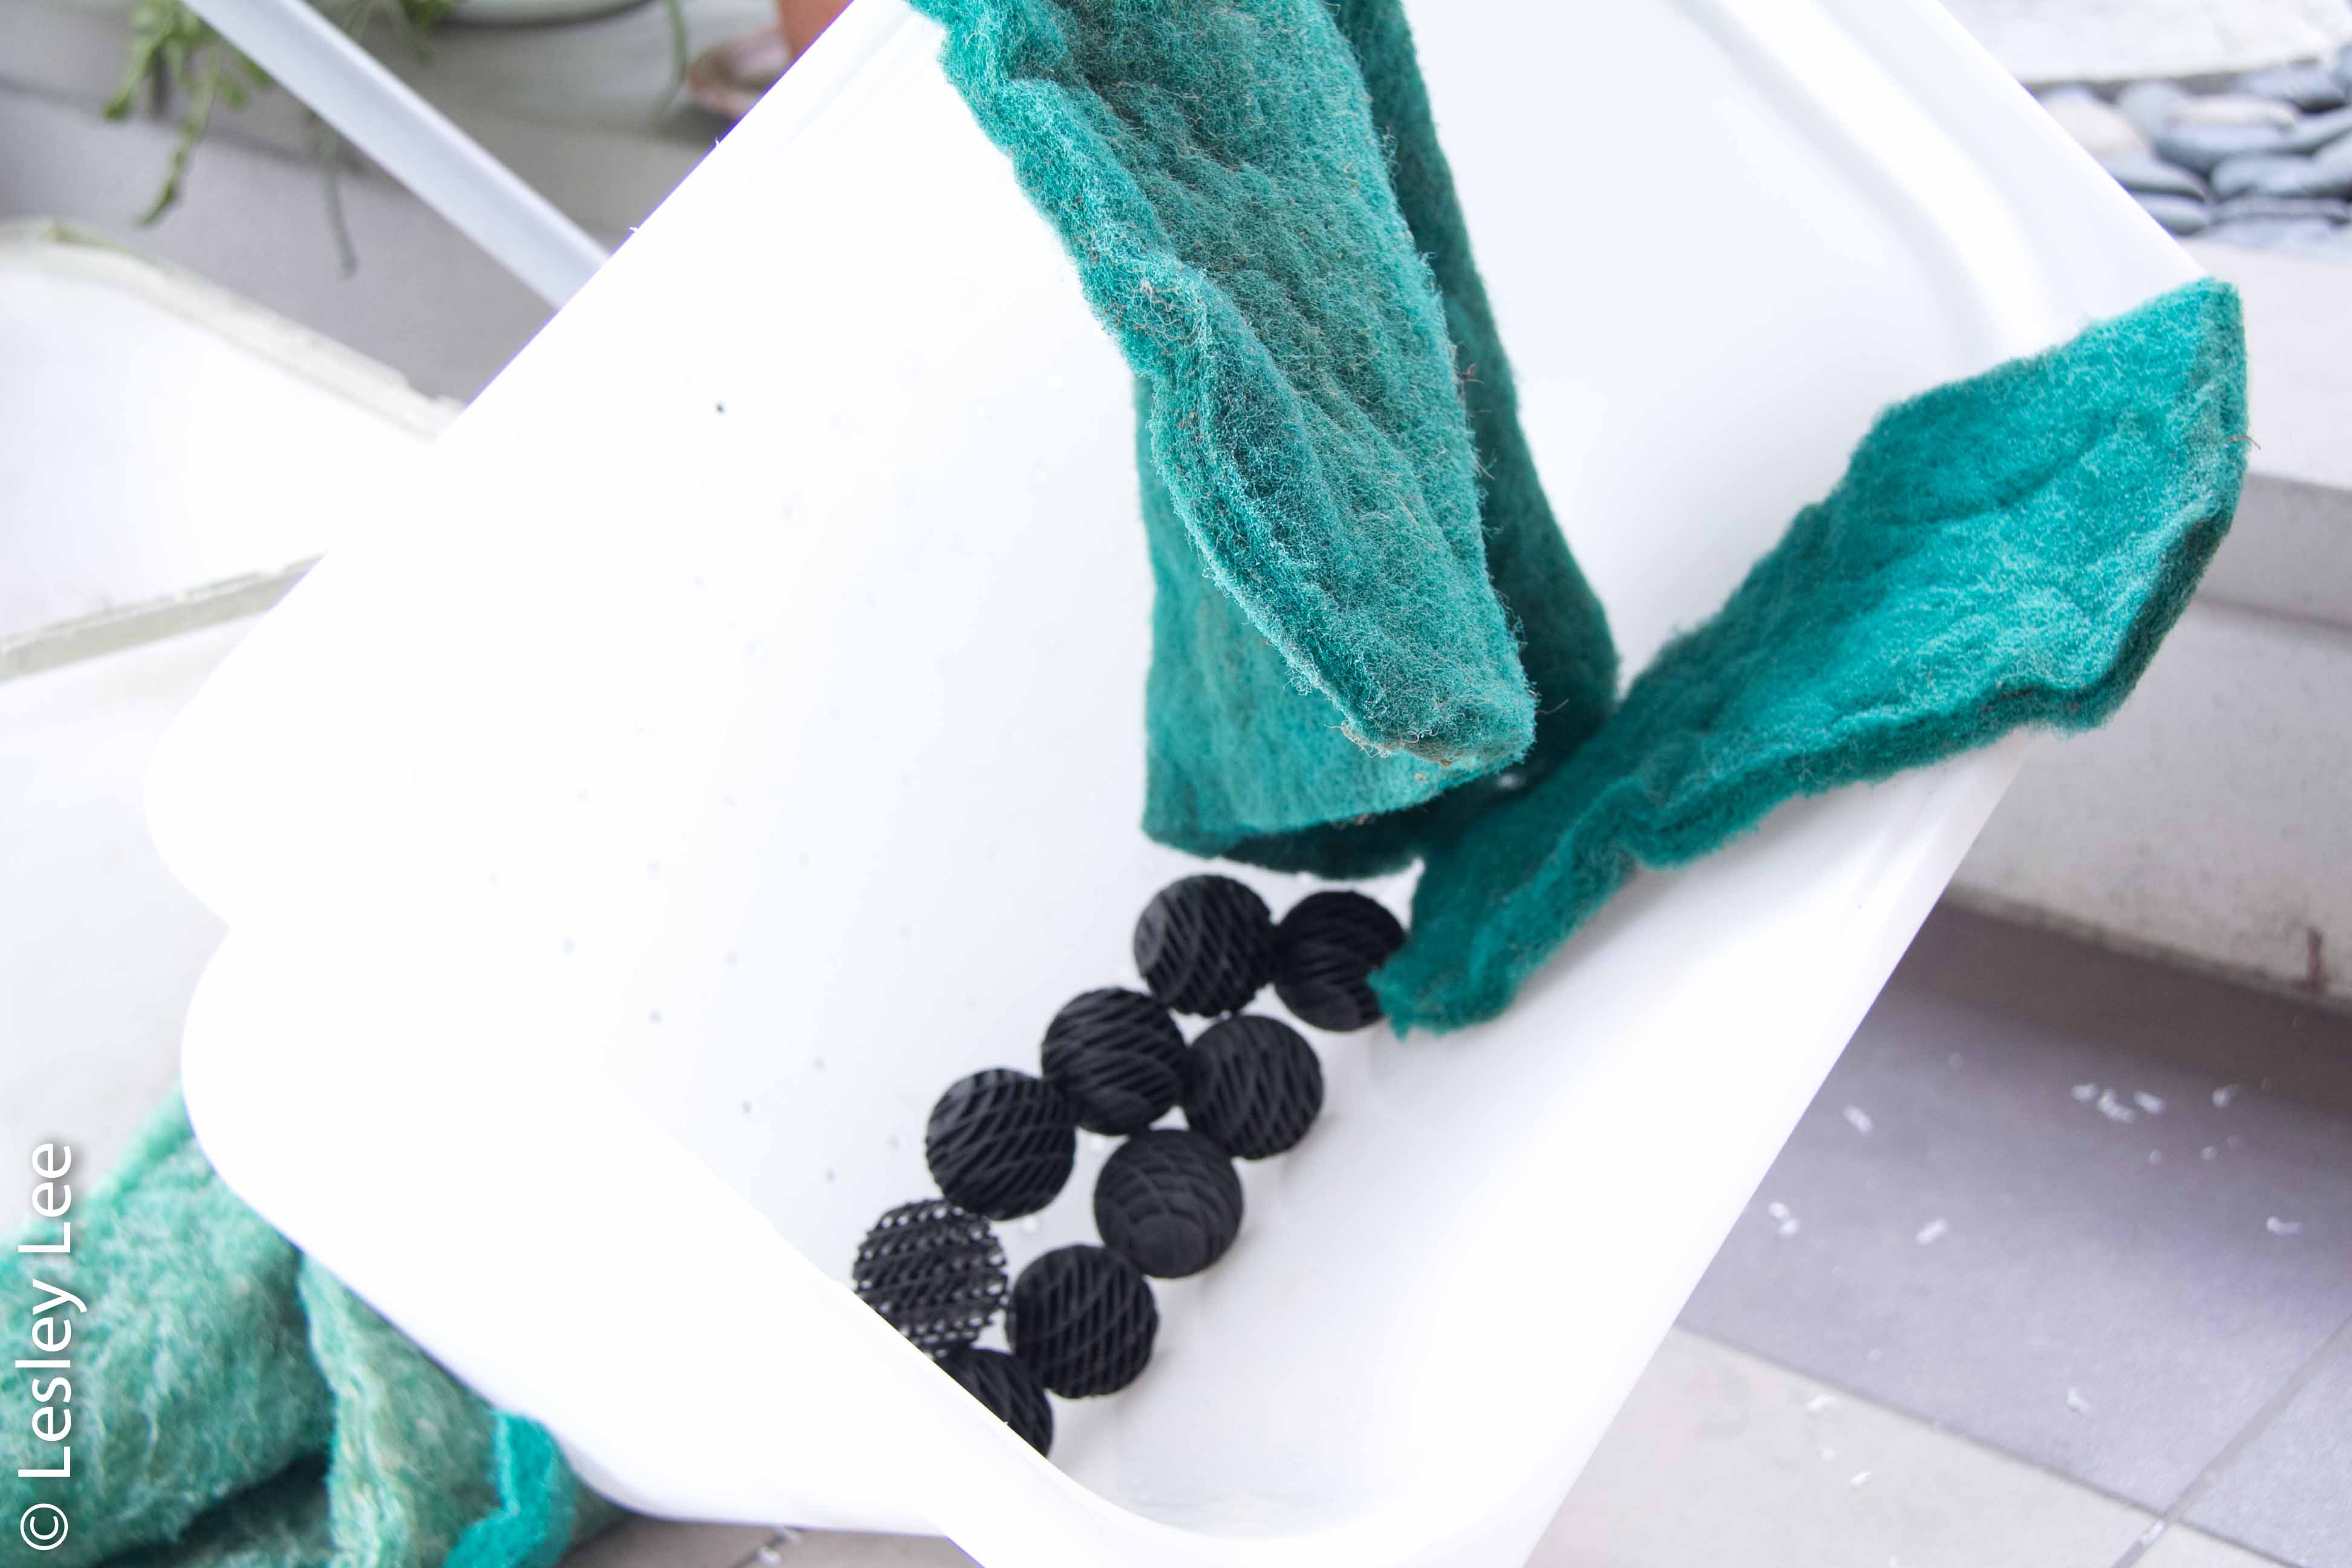
This is the least fun part of having a pond, especially if you also have fish in there. When we do the cleaning, we take everything out and toss the filter wool and other assorted filter material on the grass. Then we hose everything down so that all the gunge goes into the grass. The grass seems to love this. and it doesn’t really smell bad although you will for a while after doing this if you get it on you. Wear old clothes! Leave everything out in the sun for a while unless you have two sets of everything. To empty the large tank, we siphon out most of the water after scrubbing down the sides to shift all the muck. It’s not necessary to empty everything as apparently research has shown it’s better to leave some of the old water and gunk in place to activate the next round of cleaning. For the smaller filters, they can be taken apart and given a good scrub before reassembly. For the tubing, you can get suitable brushes (like bottle brushes only thinner) or you can use a long stick with old cloth wrapped around it.
Good luck!


This Post Has 0 Comments